|
Installation Instructions: Welder Series Kit C005 |
|
|
All chassis work must be |
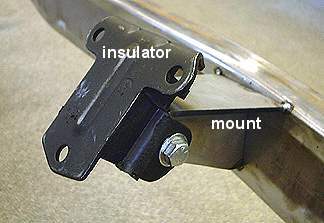
Finished installation of mount with Chevrolet stock-style insulator. |
| The frame should be level from side to side and on the same “rake” as it will be when finished. For best results, the frame should be at ride height from the ground. Mount the steering box or rack. The frame rails should be boxed. | |
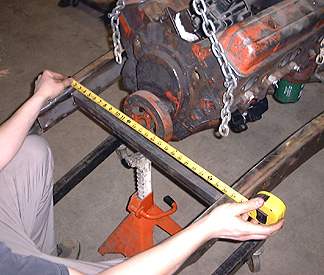 |
1) Centering the Motor in the Frame -- Position your motor. Block the motor about 1/4" higher than the final height. (The motor will settle on the mounts.) The motor should be level from side to side and at an angle lower towards the transmission. We used an old mock-up small block - no doubt yours looks better! |
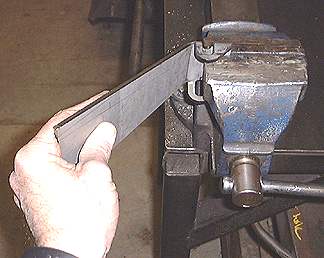 |
2) Bending Mount in Vise -- Put the mount in a vise and bend it along the laser cut slit so it clears the ridge on the rubber insulator. Bend towards ears as shown. The slit will open but the solid portion at each end of the slit will hold the angle. (Later, the slit will be welded for strength! |
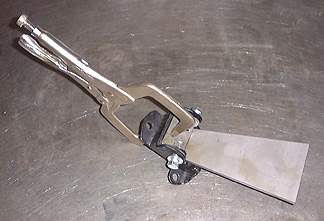 |
3) Mount Clamped to Rubber Insulator -- Assemble rubber insulator and mount with the 7/16-14x1-1/4 bolts and nuts. By clamping them together as shown, the pad will be tight against the insulator. |
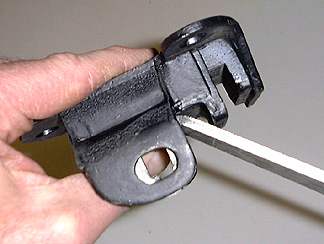 |
4) Showing Clearance from Mount to Rubber Insulator -- See how the mount just clears the insulator ridge. |
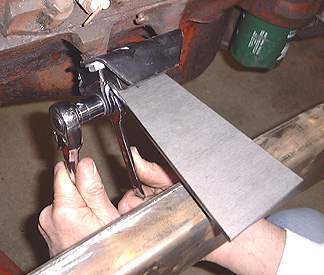 |
5) Installing the Motor Mount on the Motor -- Bolt stock, early style (non-interlocking) Chev rubber side mounts to block. |
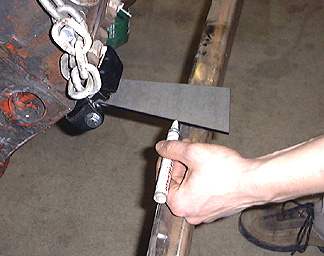 |
6) Marking the Mount to Fit in the Frame -- Bend the top of the mount as close to the frame as possible. Mark the mount to cut it so it will fit inside the boxing plate. Scribe the cut line a little”fat”- it will be easier to trim some off than to add some on. |
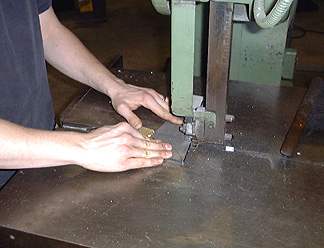 |
7) Bandsawing the Mount -- This is just one way to cut the mount. |
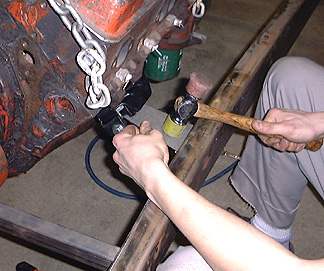 |
8) Bending the Plate Flush With the Top of the Rail. |
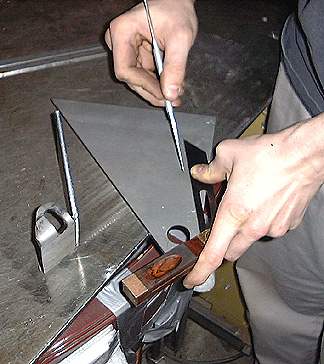 |
9) Using Bevel Protractor to Mark the Gusset -- Trim the gusset to fit the angle of the motor mount and the width of the frame. |
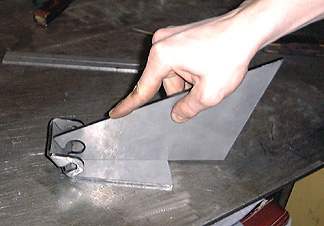 |
10) Laying the Gusset into the Mount -- After the top of the gusset has been cut at the correct angle to nest in the mount, the side that will weld to the frame’s boxing plate can be marked.. |
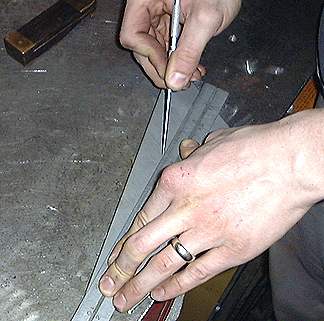 |
11) Marking the 2nd & 3rd Sides of the Gusset -- Measure the height of the boxing plate. Transfer that measurement to the gusset. Scribe and cut the final two sides of the gusset. |
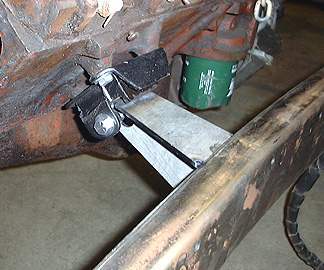 |
12) Mount & Motor Installed in Frame --Clearance holes can be cut for hoses and wires. Then tack both parts together and trial fit in the frame. Finish welding. Weld the slit closed. Weld under the slit for extra strength. |
| Welder Series has many really nice bracket and kits Check out their website for details on all of their parts | |
Hotrod MD Category:

